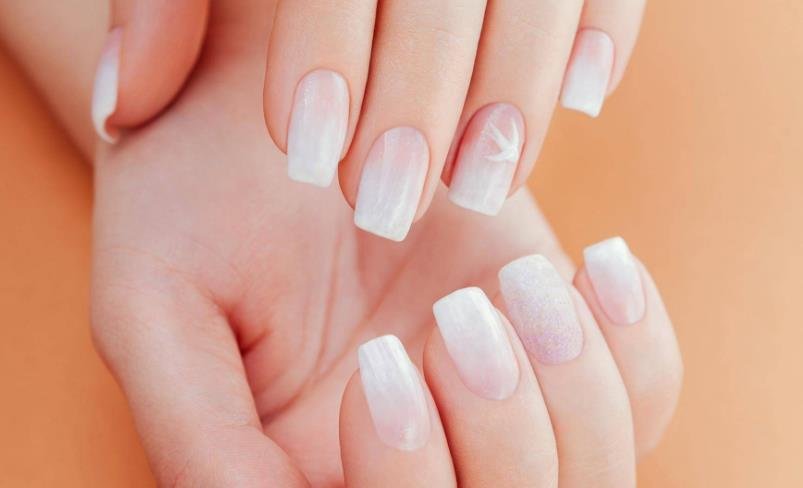
Nail polish is an essential part of any beauty routine. However, finding the perfect shade can be a challenge, especially if you have an affinity for milky white hues. While there are plenty of nail polishes available in the market, creating your own milky white nail polish can be a fun and cost-effective way to add a touch of personalization to your beauty collection. In this article, we will walk you through the steps to make milky white nail polish so you can achieve a flawless, salon-quality manicure from the comfort of your own home.
Gather the necessary materials
Before starting, it is important to ensure that you have the necessary materials. Here are the items that you will need:
- Clear nail polish
- White nail polish
- Measuring cup
- Toothpicks or stirrers
- Small container
Prep your nail polish bottles
Before mixing the polishes, make sure your nail polish bottles are clean and ready. An easy way to do this is by wiping the nail polish brush on a piece of tissue paper to remove any residue from the previous use.

how to make milky white nail polish
Mix the nail polishes
Now it’s time to create the milky white shade that you desire. In a small container, add equal amounts of white nail polish and clear nail polish. Mix the polishes thoroughly using a toothpick or stirrer until you achieve the desired consistency.
Add additives
To make your nail polish last longer and to prevent it from chipping, add a few drops of nail hardener or a topcoat into the mixture. This step will ensure that your milky white nail polish will last for days without losing its shine and color.
Test your nail polish
Once you finish mixing the polishes, test your nail polish on a small surface to ensure the consistency and depth of the color. If you want a lighter shade, add more clear nail polish, while more white nail polish will result in a whiter hue.
Apply your newly-made milky white nail polish
Finally, once you’re satisfied with the color and consistency, use the brush from your newly-made milky white nail polish to apply it onto your nails. Apply two coats for a more prominent color. And wait for the polish to dry before adding a clear topcoat for added shine and protection.
Conclusion
Creating your milky white nail polish can be a fun and simple DIY project to add to your beauty regimen. By following the steps mentioned above, you can achieve a salon-quality manicure from the comfort of your own home. Not only is it a cost-effective way to personalize your beauty collection, but it also allows you to experiment with different shades until you achieve your desired result. So why not give it a try and add a touch of elegance to your next manicure?
FAQs
[faq-schema id=”512″]


